Part I: A Guide to Furniture Restoration
March 15, 2018
In a world where everything seems to be disposable and replaceable, you can make a difference by looking at the furniture you own, and choosing to restore it, rather than replace it. Not only does this take strain off the environment by keeping things off the ‘rubbish pile’, but it saves you a fine penny or two – taking strain off your budget as well.
Furniture restoration is also a fantastic way to stretch your money and keep things within budget if you’re looking to makeover a room or section of your home.
While furniture restoration can be a little time-consuming if you choose to DIY it, our team at Darkie Designs can cut that time in half, and would be happy to give both your furniture a makeover and your cushions new life with professional reupholstering. However, if DIY is more your speed, here are 5 simple steps to restoring old furniture:
1. Identify a pre-existing finish
In order to fully restore old furniture to its former glory, it’s important to find out the pre-existing finish on the wood you’re going to be working with. There are usually 3 forms of wood finish: shellac, varnish or lacquer. If you cannot identify the finish by eye, use an alcohol swab to test the finish. If the coating comes off with alcohol, your furniture has a shellac coating. If a lacquer thinner removes the finish, then you are dealing with lacquer, and if neither of these products remove the finish, you are most likely dealing with varnish.
If your piece of furniture is covered in paint or enamel, it will need a thorough sanding.
2. All it takes is a good clean
Sounds simple enough, but often wood furniture is just in dire need of a good scrub. If your furniture is made from wood, rattan or wicker, you can clean these surfaces with an oil-based wood cleaner to dissolve layers of dirt and grime. If your furniture is still not up-to-standard after this, warm water and detergent should do the trick. Alternatively, a solvent-based cleaner may be needed for cleaning, including turpentine or mineral spirits.
Make sure not to get your wood furniture too wet during the process of cleaning!
3. Wood Re-amalgamation
Now this may sound complicated, but it’s a relatively simple way to restore any scratches or cracks you may have in your wood furniture. Re-amalgamation uses a solvent-based liquid to buff out these scratches and cracks. Ensure your furniture has been thoroughly cleaned beforehand, then choose the correct solvent for your furniture finish i.e. shellac or lacquer thinner. Use a natural bristled brush to scrub across scratches and cracks, working quickly. After this, buff the area again with steel wool, working in the direction of the grain of the wood.
Unfortunately wood furniture which has already been varnished cannot be re-amalgamated.
4. Stripping
The key to properly restoring old furniture – especially pieces which have been painted or varnished, is adequate stripping. This way, you are making room for a new colour and stain and a lovely, restored appearance. Choose the right stripping formula for your wood furniture, and apply this from top to bottom, working in one single direction. Wait a short while for the stripping formula to work, then use a putty knife or stripping tool to remove the finish.
Once most of the finish has been removed, use a liquid stripper and steel wool to remove any remaining bits of finish.
5. Refinishing
The most satisfying part of furniture restoration has to be the refinishing, where a fresh new coat of stain or paint is applied to bring your furniture back to life. Once stripping is complete, sand your furniture with sand paper and vacuum the surface after. Re-apply your stain of choice with a natural bristle brush, leaving it to set overnight before applying a second coat.
To add a beautiful shine to your piece, use a la cquer, varnish or polyurethane that will protect the wood and stain.
Family heirlooms are priceless treasures which deserve to be considered for restoration. If it’s looking a little old and rundown, think twice about tossing it and take it to furniture restoration experts at Darkie Designs, who can do it all for you – within budget!
Share on Socials

Back in March of 2020, Bianca and Jana were dusting off their Fez’s and grabbing the pashminas out of storage in preparation to Rock the Casbah! However, as we all know and vividly remember - with March, came the eventual Covid shutdown, and instead of frolicking down the Moroccan streets, we all shut ourselves inside and watched the days tick by… 3 Years later, and now we can finally say - with conviction - that they’re going to Morocco at the start of September! This blog, filled with excitement and curiosity about all the weird and wonderful curios they might find, and endless sourcing they’ll do, stays as a reminder that sometimes plans change, things go awry and there’s not much you can do about it other than persevere - and that we did! So, here’s Bianca and Jana’s innermost thoughts about the trip, 3 years before it came to fruition, enjoy :) We've got our passports out and Jana has already picked out what she's going to wear each day… Come March [September] we'll be heading north with Air France to the Kingdom of Morocco, bright eyed and bushy tailed as we make our base in the ancient city of Marrakesh (also known as Marrakech to the French, but we're not French, so we'll go with the English version until all that fuss about Brexit is sorted out) - This turned into a year long negotiations trade, and now us outsiders would pay nearly double what we used to if we visit the UK - thankfully our flight is direct!! We'll be looking for inspiration and will be investigating what's there that we could possibly bring back to The Hoed. We can't wait to experience the atmosphere and afro-arabic influences of this amazing place as we visit the celebrated souks and off-the-beaten track artists and craftsmen that make Marrakesh so special. We're desperate to see the beautifully hand-crafted furniture, textiles, fabrics, rugs, carpets, objets d'art, accessories, lighting… anything that catches our eye and could possibly be brought back south. Berber mats and rugs are definitely on our list, as are the kind of furnishings you might find in a gorgeous Bedouin tent. If you think about it, the Bedouin refined the art of "glamping" into an artform - fabulous carpets on the ground, soft, billowing fabrics hung here and there, plump cushions spread on the ground, intricate leatherwork and carved wood, patinated metal… Total Glamping vibes! We just love all of it and will be tracking as much of it down as we can. We'll also have an eye or three out for wonderful ceramics and glassware and wonderful lamps that give off soft, filtered light. For us it's about workmanship, so we'll hopefully be finding the people who make furniture and ceramics using techniques that have been passed down over countless generations meaning that everything we look at will have its own, and its own special story. Our mission is to share those stories with you and, if it's feasible, bring some of that special workmanship home to the Rainbow Nation. We're most definitely inspired and are sure this is going to be a truly special trip! Counting the sleeps till then! Less than a month to go now - we will be keeping the updates going on our social channels as well as another few blog posts to explain in detail our wild adventures - Stay tuned!
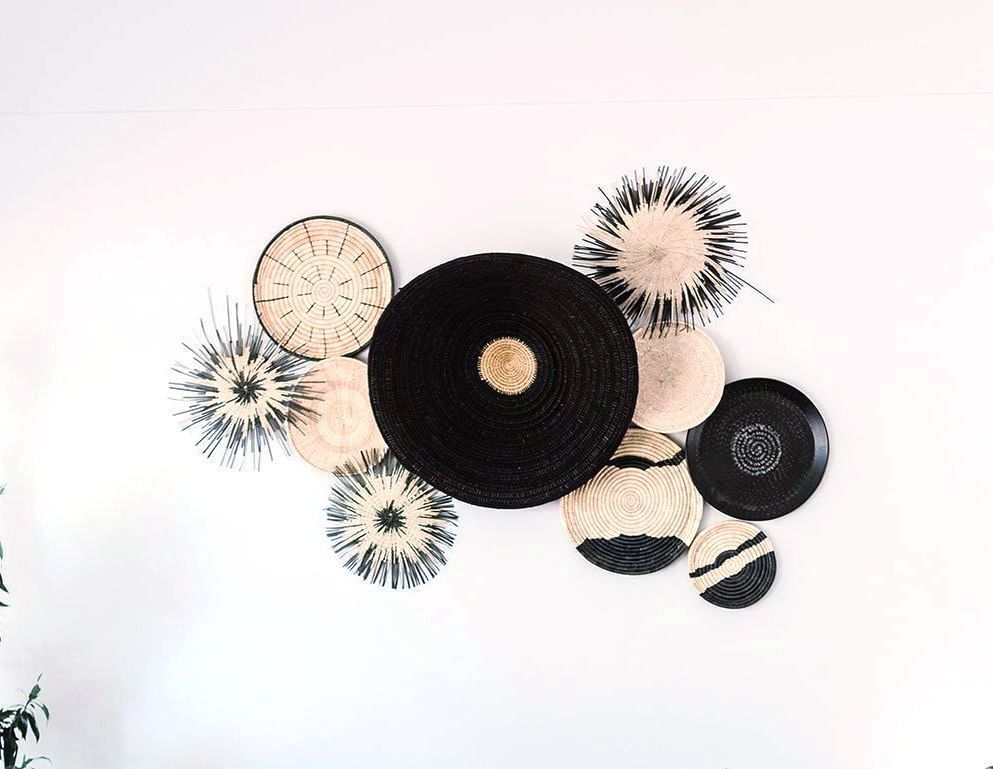
A safari theme never really runs out of viewing time and is particularly popular for interiors at the moment. The warm, earthy tones give a sense of comfort and the accessories offer the anticipation of travel and adventure.
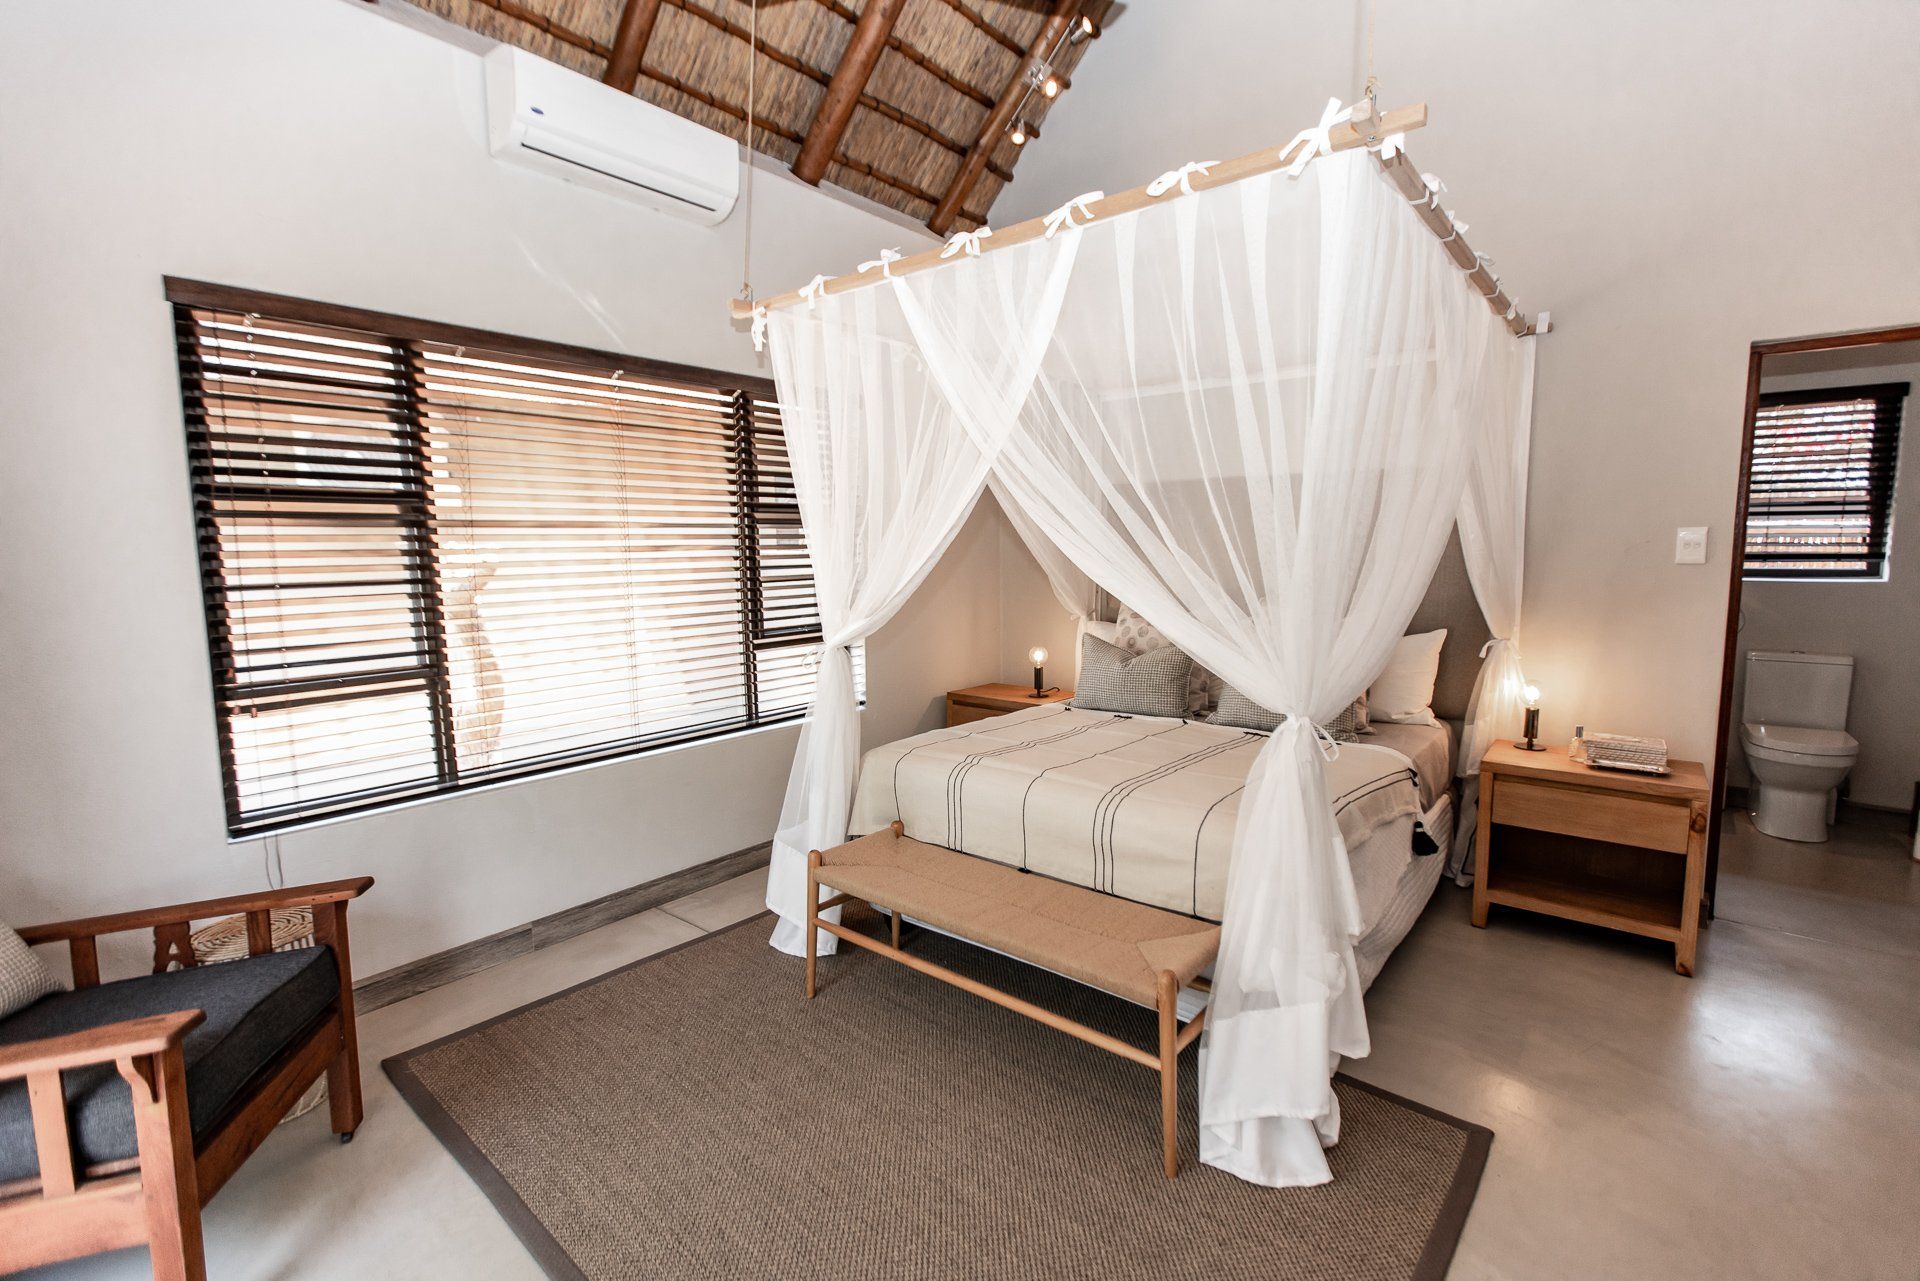
Stay protected from mosquitoes with top quality mosquito nets. Buy online in South Africa for the best deals. Shop now and sleep peacefully.